Kubernetes Clusters Management
Creating new Kubernetes cluster
After launching servers with a Talos Linux image generated by the Fluence Application, they will be staying in Maintenance mode. At this stage, Talos is still waiting to be properly configured to host a Kubernetes workload.
To configure Talos Linux and launch a K8s cluster, please navigate to the Clusters tab and create your first cluster by selecting the following parameters:
- Data center - Fluence software supports easily configurable cluster provisioning and management for servers located in a single physical data
- VLAN ID for private networking - optional parameter that should be set if you have additional networking logic for internal traffic used for Talos API and K8s API.
- Kubernetes roles - for each individual server, specify its K8s role. The Fluence team recommends to follow the default Kubernetes recommendation and support an odd number of Control plane nodes. To increase the stability of the Cluster, we recommend to have a minimum of three (3) Control plane nodes and place them in different racks/cabinets within the Data center.
You should always keep a minimum of two (2) healthy Control plane nodes to support cluster integrity. If all control plane nodes will be unavailable, e.g., due to the private networking or hardware issues, Kubernetes Cluster will be broken and won’t be able to restore its state.
- Workload interface - for each individual server, select the network interface used to run workloads from Fluence customers. This interface should be at minimum 10GbE and 100GbE are recommended.
- Talos disk - for each server specify a disk for the installation of Talos Linux. Fluence recommends to use SSD or NVMe system drives with at least 100GB free space and RAID1.
- Workload disks - for each servers select DAS disks that will be used for Fluence customer workloads. Talos disks can be also used for workload launching, but it is not recommended. For Workload disks, RAID technology shouldn’t be used as Fluence will create its own virtual replication system. If you are using a single disk to host Talos and workloads, please don’t use RAID technology.
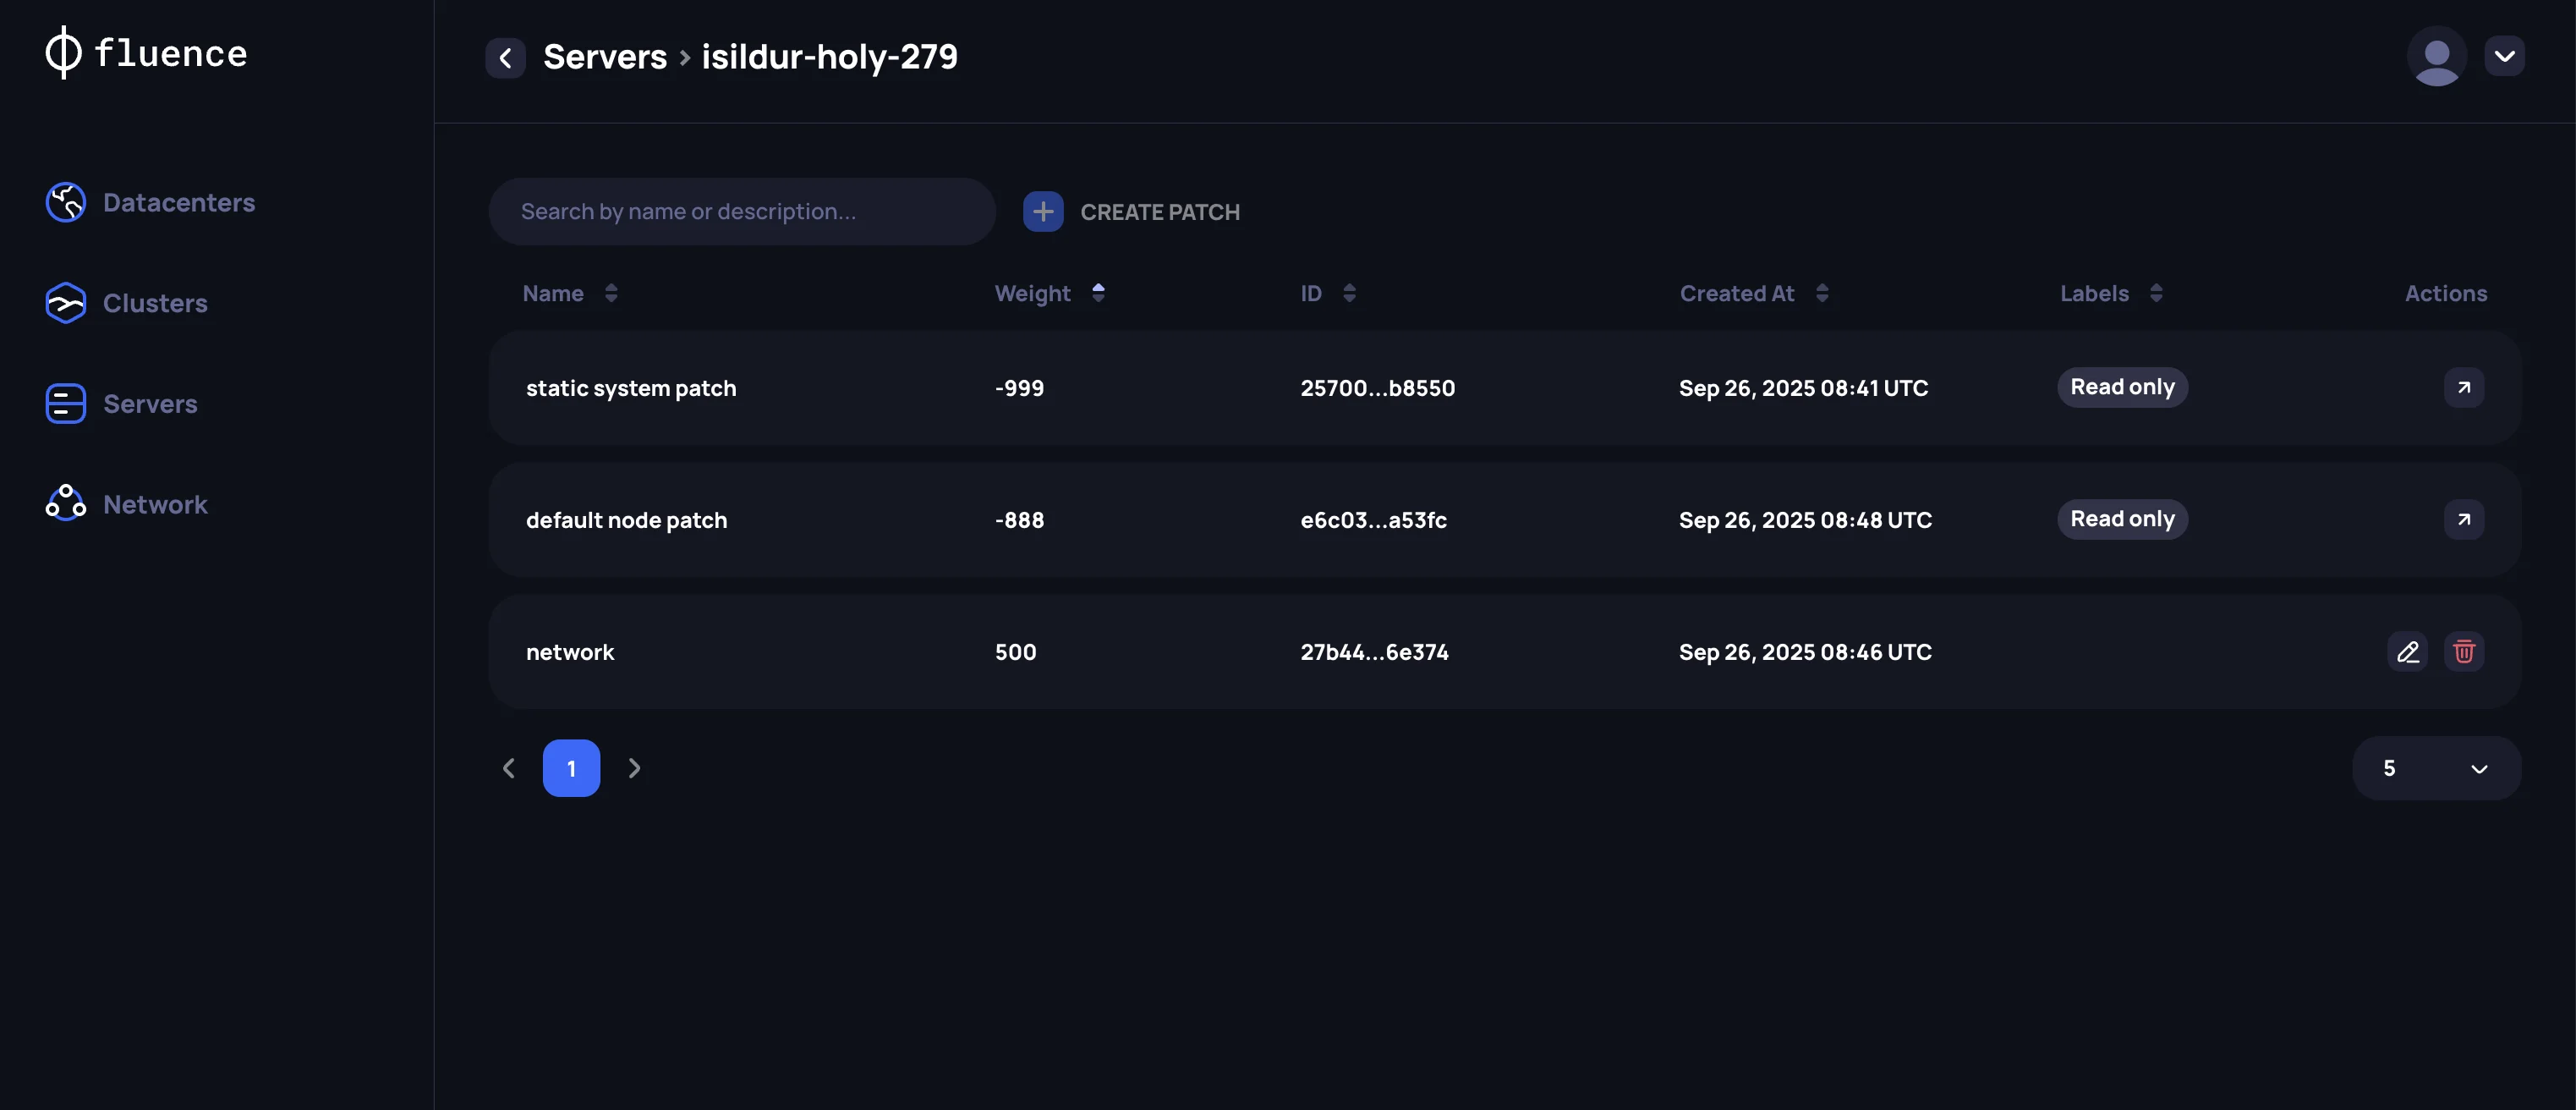
- Talos Patch - for each server, a custom Talos Patch needs to be configured. The Web Application will automatically create several patches by default to configure disks and some general machine parameters. As Talos Linux doesn’t have access to a data center's network topology, the Provider needs to manually describe it for each individual network interface allocated to Talos and K8s management. Follow the official Talos documentation. Also see the example setup below.
You should set the ignore: true parameter in the custom Patch of all network interfaces allocated to running Fluence’s customers workload See example below.
Kubernetes default subnets are using 10.244.0.0/16 and 10.96.0.0/12 as pod and service subnets, respectively. Make sure that the Talos management interface doesn’t overlap with these ranges. Alternatively, configure these subnets with the Talos Patch based on the following example.
After all required parameters have been specified, you can proceed with the Cluster creation. In the Cluster section you can track the setup status. Within the cluster launching process, the Provider Application will do the following:
- Configure servers based on specified disk and network info
- Join Talos Linux nodes into a single Cluster and launch Kubernetes
- Install Fluence services for interacting with theBlockchain, managing customers’ workload and executing servers availability benchmarks.
- Configure Fluence services with custom configs for securely interaction with Blockchain
Example of Custom Talos Patch setup
Let’s assume that we have the following networking topology for individual server:

In this case Talos Patch for this server should be the following:
cluster:
  network:
    podSubnets:
      - 10.210.0.0/16
    serviceSubnets:
      - 10.112.0.0/12
machine:
  network:
    interfaces:
      # management
      - interface: bond0
        dhcp: false
        addresses:
          - 10.2.100.10/24
        routes:
          - network: 0.0.0.0/0
            gateway: 10.2.100.1
        bond:
          mode: 802.3ad
          xmitHashPolicy: layer3+4
          interfaces:
            - enp6s18
            - enp6s19

      # workload
      - interface: enp6s20
        ignore: true